|
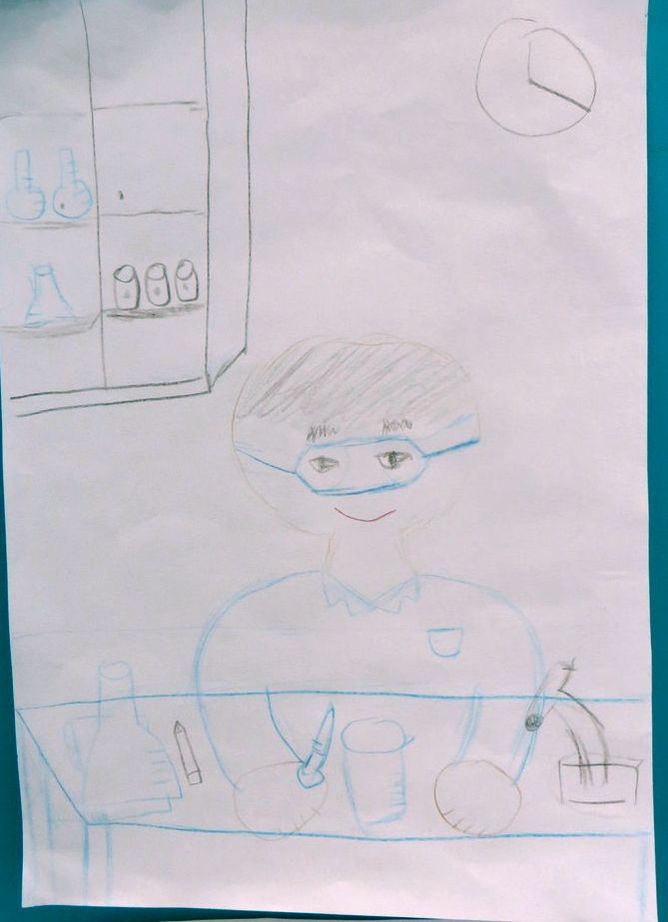
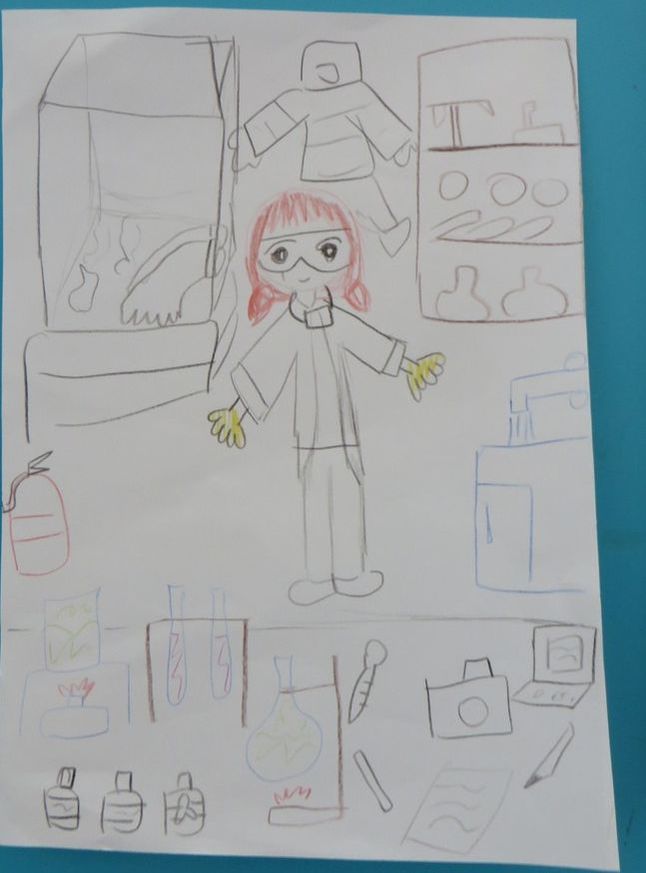
A few years ago, I read a chapter in Tina Seelig’s book called "The Upside-Down Circus" and the concept was so sticky it did what sticky things do best - it stuck. The Upside-Down Circus is a case study in creativity and design. How do we go from a generic $5 circus show with elephants and clowns to a fully-fledged, high-end spectacle like Cirque du Soleil? Much like the ideas presented in that chapter, The Upside-Down School is about questioning the traditional assumptions of schooling and education and flipping them on their heads – the same story with a different twist. In science, one of the first activities I do with my students is have them sketch an image of a scientist. That's it. The activity is simple but reveals a lot about our preconceived notions of what science is and what exactly it is that scientists do. The stereotypical image of a scientist is presented as follows: a white male with wacky hair in a white lab coat working in a laboratory with chemistry equipment. We talk about what these stereotypes mean and where they come from. We talk about why these images are problematic and what we can do about it. And then, we revise.
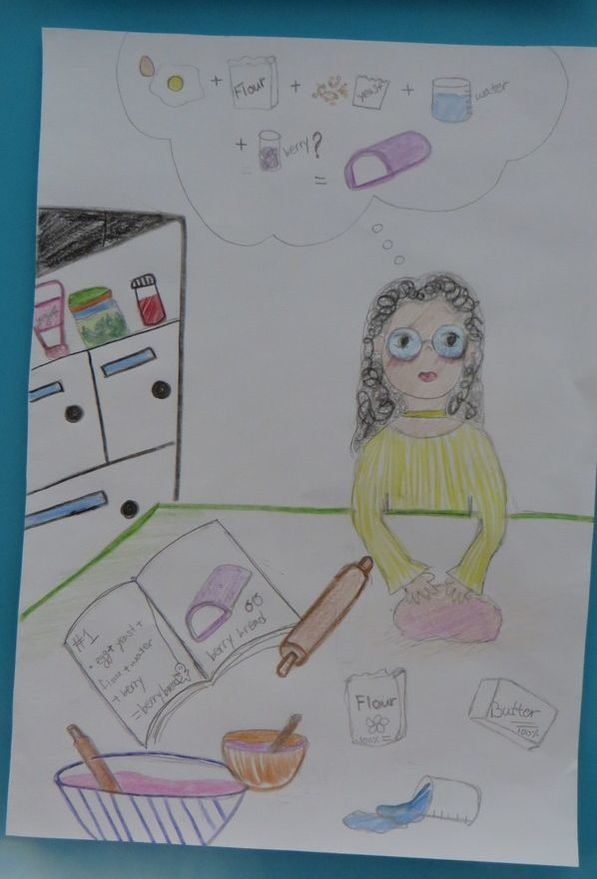
Scientist sketches, before discussion.
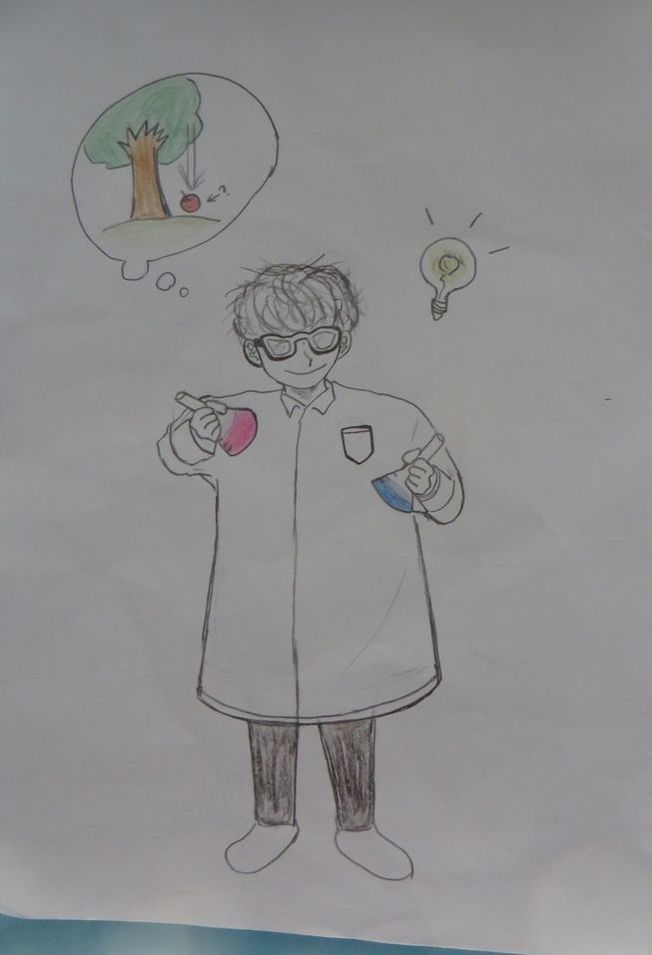
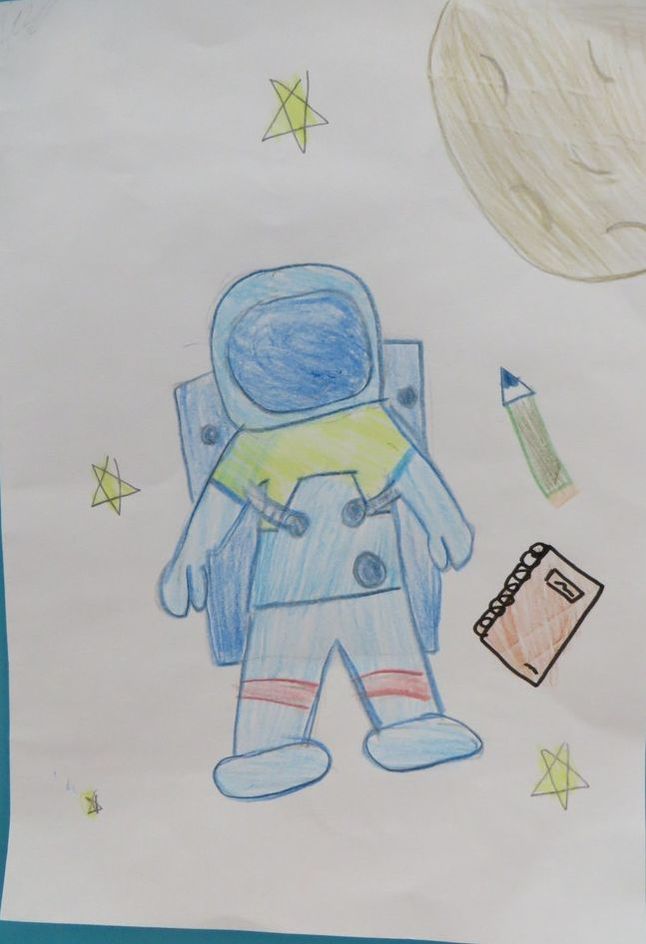
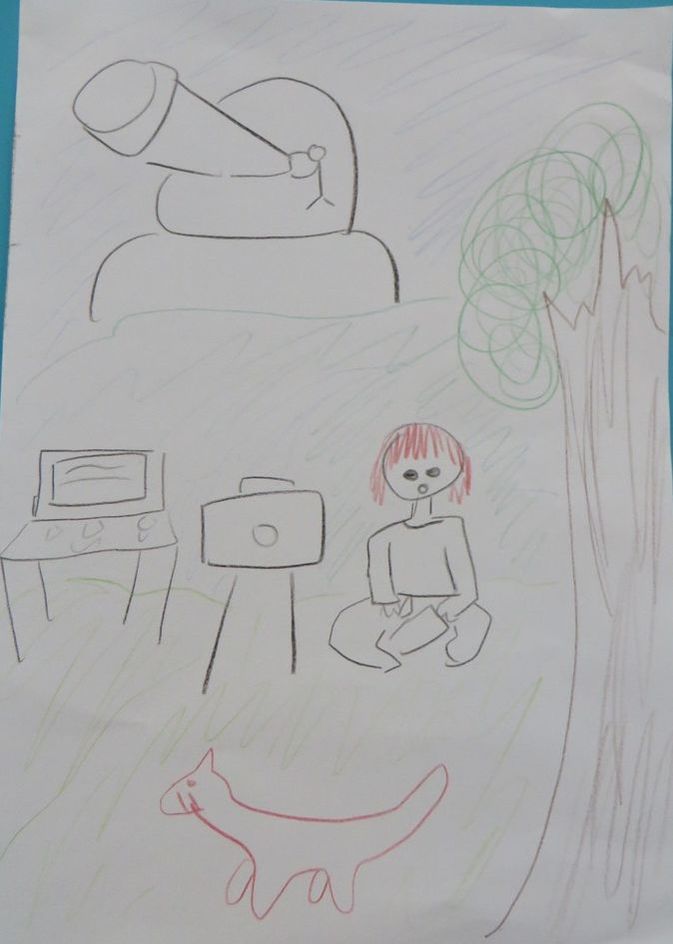
Scientist sketches, after discussion. The most interesting part of this activity is seeing the variety and differences in approaches that students take when drawing the second sketch. By bringing to awareness our biases and questioning those initial assumptions, we freed ourselves from the initial, rigid, locked in notions of what constitutes "scientist." I feel like this is what we need to aim to do more often in our own thinking DAILY. That's what I'm going to attempt to do more often on my blog as well.
0 Comments
I've been finding ways to sneak in lessons about the Nature and Processes of Science to my students in context of the curriculum we are exploring, but sometimes, these lessons are fun to have on their own. For their final assessment in chemistry, my ninth grade students will be designing and conducting an investigation to find the identity of two mystery powders. As a part of this assessment, they have to be able to demonstrate that they can write a clear, accurate, and reproducible procedure. I did some digging found an excellent resource published by the Muskegon Area Intermediate School District that I used to scaffold the procedure writing portion of this assignment. 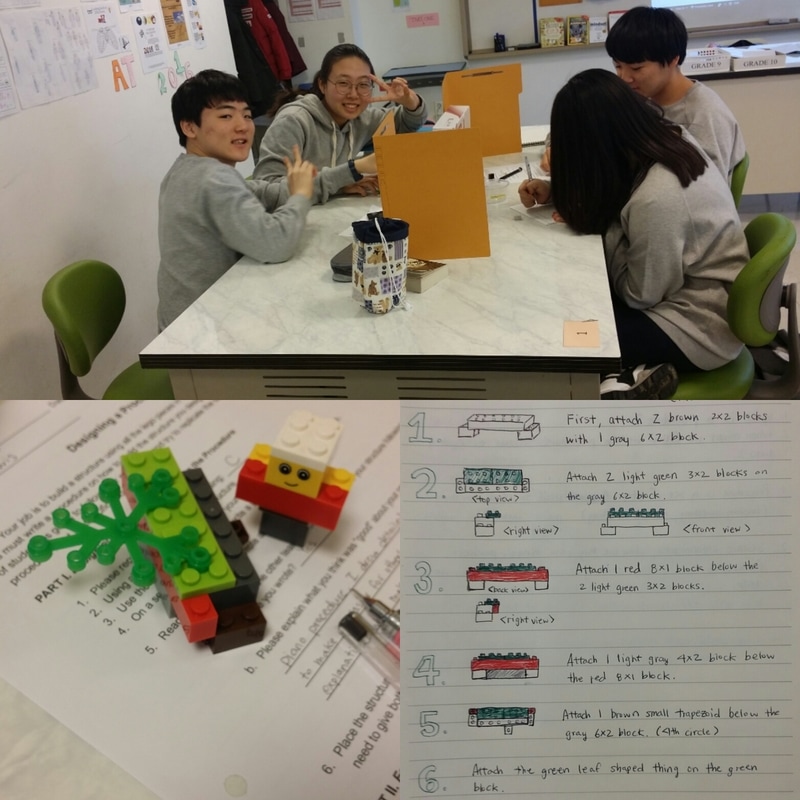 Materials:

Engage I started the lesson by asking students two questions:
Explore PART 1: Designing the Structure and Writing the Procedure 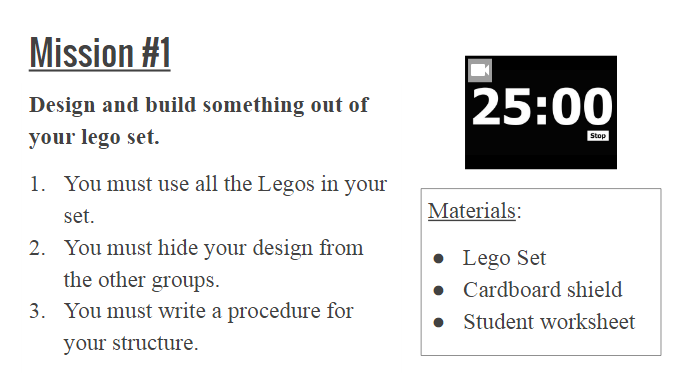 Notes: Although I gave students the option of either writing the procedure as they built the structure or after, all of them chose the latter option which I found interesting. I gave my students a time limit of 25 minutes to complete this part of the activity, which turned out to be a little rushed because it took them some time to settle on a design. In the future, I need to re-emphasize the main point of the activity, which is to write a clear, accurate, and reproducible procedure that someone else can follow. I ended up giving students closer to 30 minutes. Groups that did not finish within the time limit handed in an incomplete procedure. 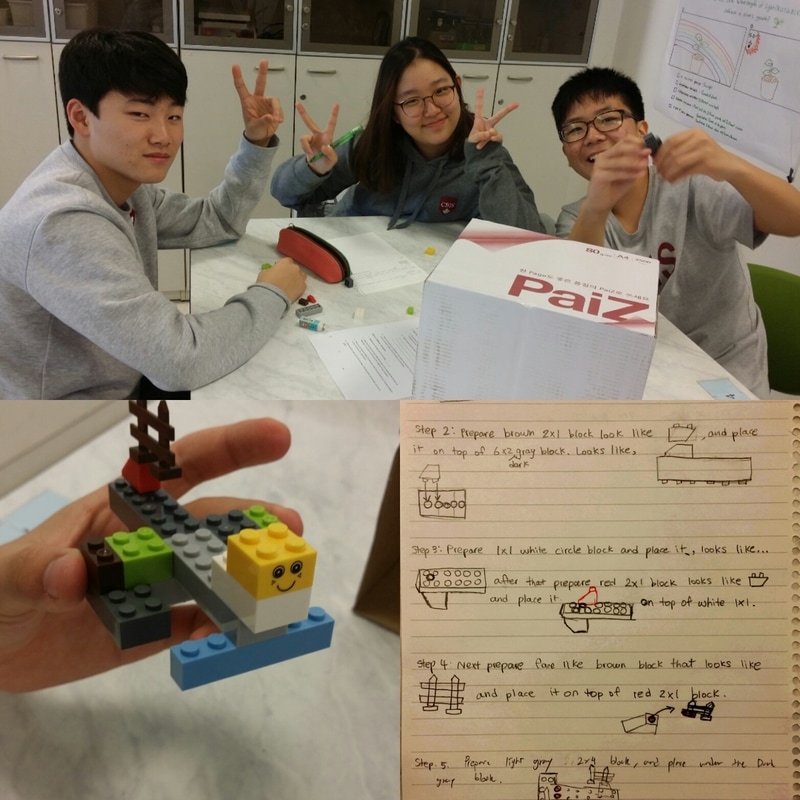 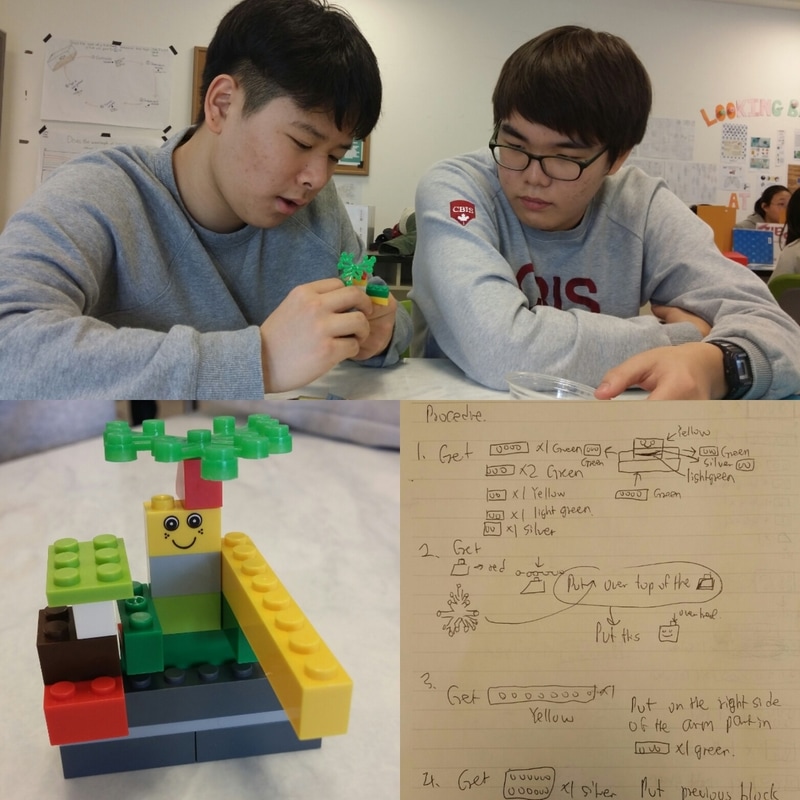 PART 2: Following and Evaluating a Procedure 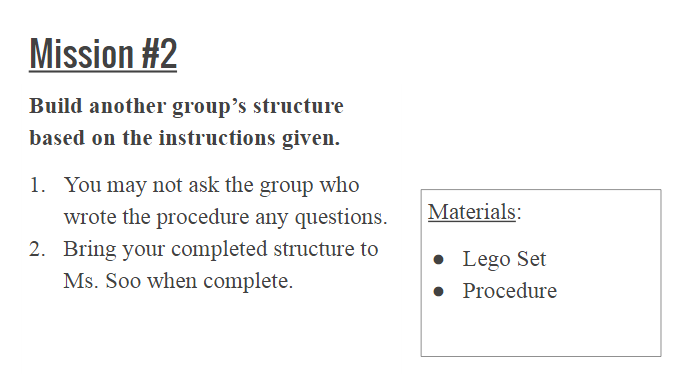 Notes: This was probably the most fun part of the lesson as students were very excited about putting their procedures to the test! At this point, I was busy at the front of the room comparing the structures groups built to the originals, although I wish I spent more time walking around asking probing questions such as, "What makes this procedure easy/difficult to follow? How can you tell which way the pieces are oriented? What would make this step clearer?" Explain After students had a chance to follow another group's procedure, they completed question #5 in Part II of the student handout (above). Once the students have had time to write down their thoughts I had them share their feedback with the other groups. Notes: Some students began to get overly critical and picky about each other's procedure. At this point, I reminded them of what constructive feedback looks like, and reminded them that mistakes are OKAY - they are part of the learning process. Extend An extension might be to have students follow-up this activity with a procedure about making a peanut butter and jelly sandwich, brushing their teeth, or some other common, everyday task. Note: This would also be a good time to discuss how scientific procedures differ from everyday ones, and how the formatting may change depending on the class. For example, in my class, students will be expected to write their procedures in past tense and include labeled diagrams with figure captions written below the diagram. Evaluate I will evaluate my students on their ability to write clear, accurate, and reproducible procedures as a part of their Mystery Solids Investigation performance task. 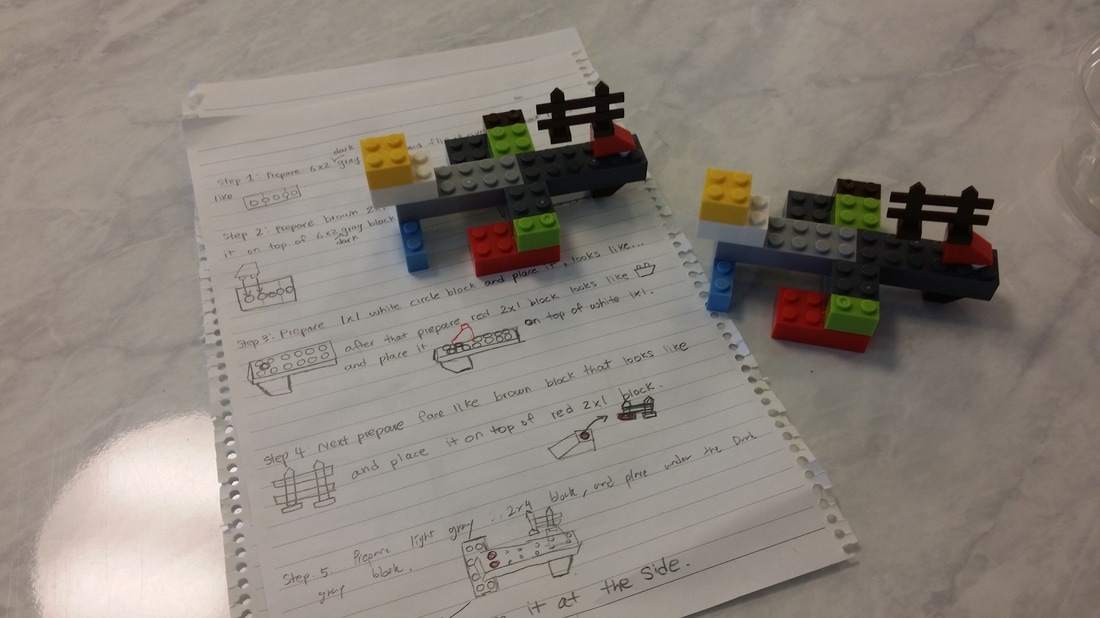 Left: The original Lego structure built by the team. Right: the replicated Lego structure built by another team who followed the original team's procedure. 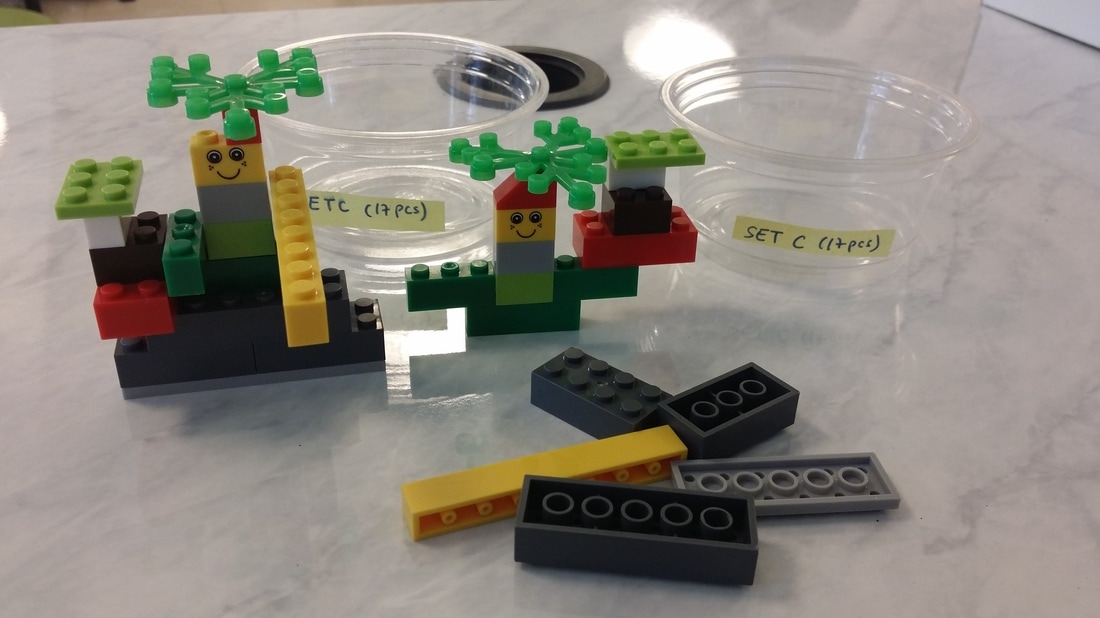 Left: The original Lego structure built by the team. Right: the replicated Lego structure built by another team who followed the original team's procedure. |

April SooInternational math educator who writes, occasionally. Archives
April 2020
Categories
All
|
||||||||
 RSS Feed
