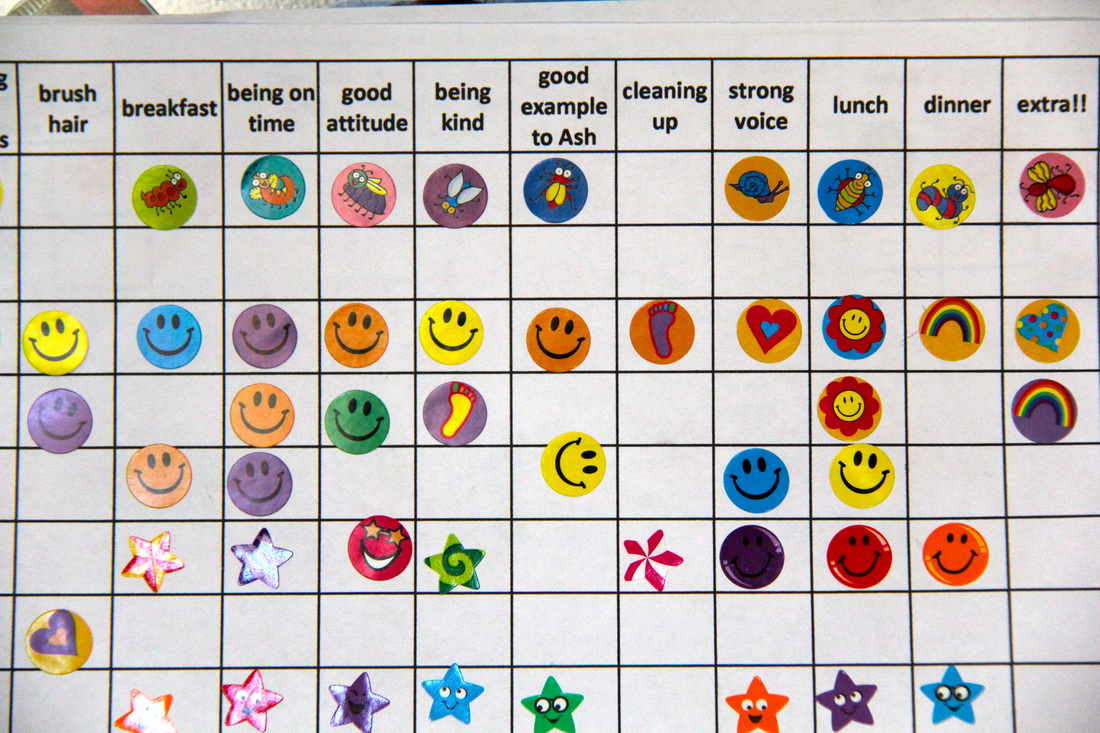
 From http://www.imeeshu.com/ Think back to your days in the elementary (or even secondary) classroom. I'm willing to bet that most of you will be familiar with some version of the controversial reward chart as exemplified above. What are your thoughts? Do rewards work? What has been your experience with rewards in the classroom? Go ahead and think about this for a minute before you read on. 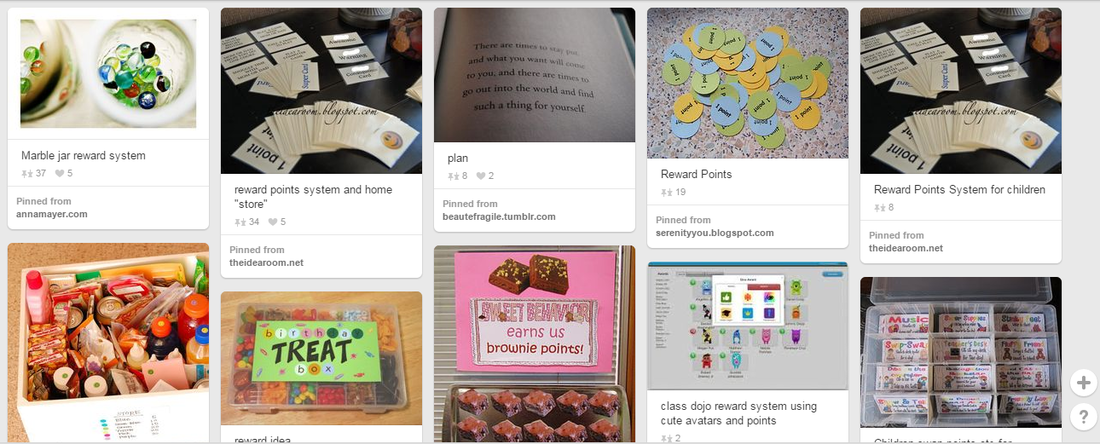 Pintrest board on reward systems. My Grade 2 Experience: I distinctly remember the day my grade five teacher decided to implement a "Merit Points" system in our classroom. There was a blank chart on one of the the side walls with each of the student names listed in rows, and empty boxes for check marks next to each name. Our teacher explained that these points will be very difficult to earn and would only be awarded for "exceptionally good behaviour". None of us really knew what that meant, but I was interested in seeing how this would play out. After our return from recess that day, the class began filing in when all of the sudden Mr. R yelled, "EVERYBODY FREEZE!" And so we did - "Megan has earned her first merit point. She picked up a piece of garbage that wasn't hers - WITHOUT BEING TOLD TO DO SO." Man, I thought, if that's what it takes to get these merit points I'd better pick up every single piece of garbage I see, but only when I'm not being told to do so. As the year wore on, Megan, a naturally kind-hearted person and good friend of mine, began accumulating more and more points. Eventually, there was no way to catch up. A large portion of the class had no points at all! Naturally, I stopped caring - what was the point? I was never going to get enough merit points to win the prize, and it didn't matter if I did good deeds outside of the classroom because Mr. R was never going to see them anyway. What I Know Now: I watched a lecture presented some years ago by Aflie Kohn as a part of the MacClement Lecture Series at Queen's University. To answer the question, "How do we create kind, compassionate, and caring children?" he asks us to consider the following question, "How can we destroy a child's inclination to care?" The answer: competition and rewards. Grades, stickers, praises, money, are all forms of rewards commonly used by parents and teachers - these are thought to encourage positive behaviour when in fact research shows the opposite effect to be true. Providing extrinsic motivators (i.e. rewards) for what are inherently intrinsic values and behaviours (compassion, resilience, grit...) simply does not work! Extrinsic and intrinsic motivation are inversely related. According to Kohn, research shows that children of parents who frequently use rewards tend to be less generous than their peers. Thinking back to my grade two classroom, the only thing that the Merit Points system did was reward the students who were already good. While I was motivated to "try" for a short period of time, I quickly reverted back to whatever I was doing before once I decided it was a waste of my time. Praise can be similarly perilous to your child's development. If you are like me, you often get annoyed when others give you empty praises like, "Good job!", "You're awesome", or "You're so smart!". Not only do praises like these provide no context or constructive feedback whatsoever, they can also be detrimental to a child's confidence, grit, and self-esteem. This article ("How Not to Talk to Your Kids") does a good job at explaining the basics. In general, kids who are praised for intelligence over effort tend to give up more easily on tasks that they believe they have no inherent talent for. Specific praises like, "I like that you moved on to the next question when you got stuck," are key to providing students helpful strategies to succeed. In general, I think that rewards can act as good short term motivators for getting necessary but uninteresting tasks done and out of the way, like rewarding myself with candy for completing chapter readings for a course I don't enjoy for instance. However, in the long term, rewards can hinder a child's development of good attitudes and behaviours and should generally be avoided. Once children hear praise they interpret as meritless, they discount not just the insincere praise, but sincere praise as well. - Judith Brook, New York University Professor of Psychiatry For more information on this topic, I recommend reading more of Carol Dwek's Mindset Research.
0 Comments
Grade 11 Genetics Focus Question: Why do you look the way you do? Diagnostic: Begin by asking students to answer these questions independently, then discuss in groups.
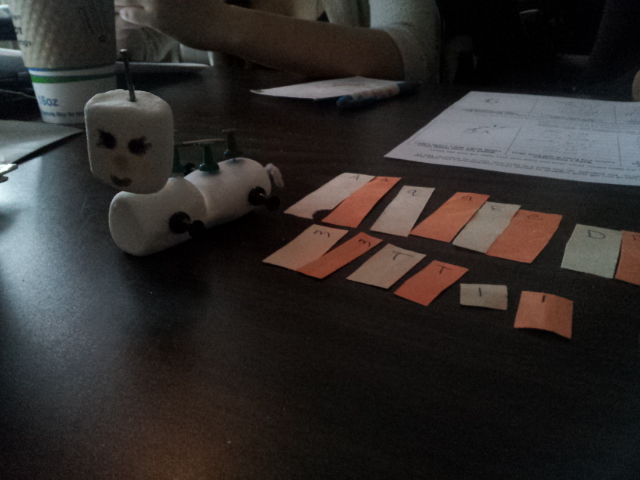
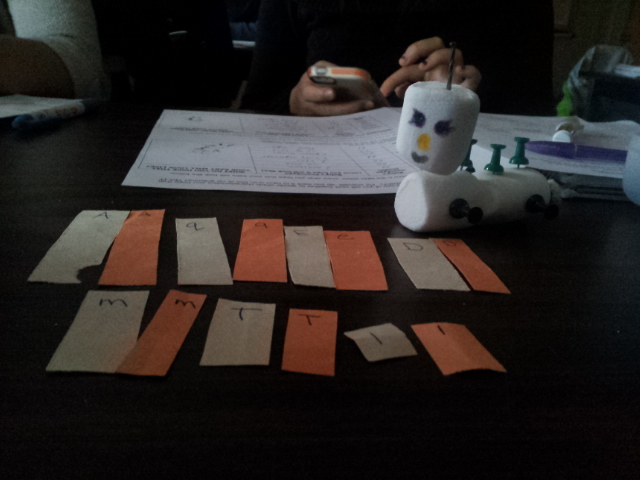
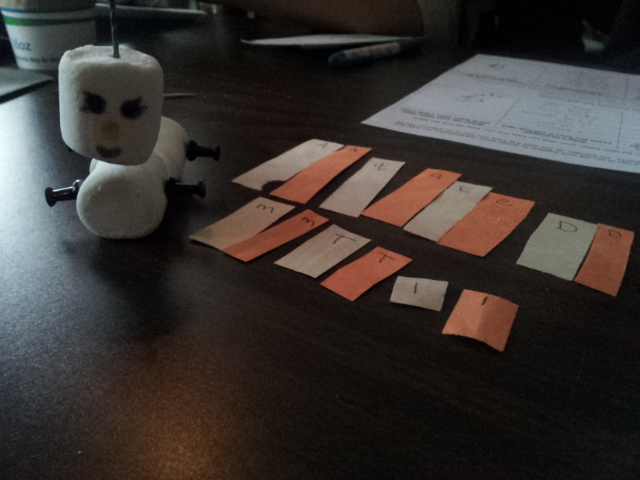
Encourage students to share their ideas (snowball activity, think-pair-share, placemat...etc.) and allow students to keep adding to this as they learn more about genetics throughout the unit. Grouping: Ask students to pair up. Give each pair an envelope containing a set of pre-made "chromosomes" for either a father or mother. Ask students to make a group of four with another pair who has a parent of the opposite sex. Learning Activity: Reebop Babies Materials: - Envelopes - Colored Construction Paper (for chromosomes) - Colored pencils or markers - Large Marshmellows ("body segments") - Push Pins ("humps") - Pip-cleaners ("Tails" - Small iron nails ("Antennas") 1. Tell students that they have received an envelope with the "code" in it for a reebop parent. Ask students to lay out the pairs of chromosomes (each set of chromosomes will be one color) from largest to smallest. Give them a copy of the key/legend so they can determine the genotype (code) and phenotype (what it actually looks like) of the parents. 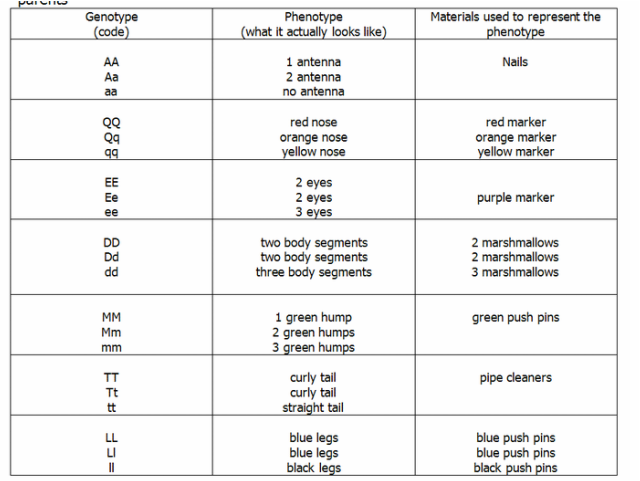 2. Have students fill out a chart with headings for phenotype and genotype, and get them to draw what their parent looks like.  3. Students predict what their baby will look like based on the genotypes and phenotypes of the parents.
4. Once predictions have been made, the two pairs of students randomly pull out chromosomes from the "dad" and "mom" envelopes until they have a full set required to build the baby. 5. Build the baby with the materials provided! Why I like this activity: Reebop babies are a fun hands-on, exploratory activity that can be used to introduce students to the genetics unit in grade 11 biology. You can start the unit with this lesson by using the appropriate terminology (chromosomes, genotype, phenotype...etc.) without having to explain what each of those terms mean. Just be sure to give students enough information either on the hand-outs, or through visual cues (e.g. the envelop containing construction paper "chromosomes") so they have enough working knowledge to complete the required activities. This same activity can used to introduce concepts later on in the unit such as errors in meiosis, punnett squares, dominance...etc. Original lesson idea by Dr. Cathy Christie. 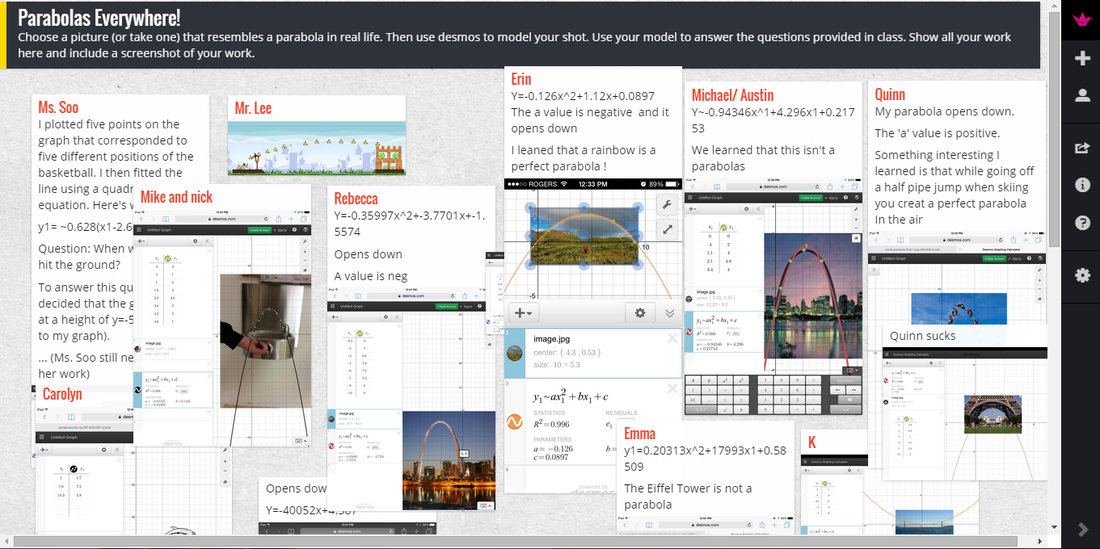 A screenshot of the online collaborative space my students and I used on padlet. For my February-March teaching placement, I taught part of the Mathematical Models unit for the MAP4C (Foundations for college mathematics) class at a local high school. One of my favourite lessons was the introduction to quadratic functions, which incorporated the use of iPads, online graphing software, and an online collaborative sharing space called padlet.com.
I began with a short introductory lesson about the different parts of a parabola (axis of symmetry, roots, a-value...etc.) and how that is related to its equation. Then, I had students either find or take pictures of objects that resemble a parabola and model it with an equation on desmos.com. I followed up by asking students to answer a few basic equations: What is the equation of your parabola? What is something new you learned today?) and post their results on padlet. Some students found that objects they had chosen were modeled perfectly by a quadratic equation, while some were not. This shows that they can use their equations to make predictions (e.g. What will be the height of the building at distance x? When will the basketball hit the ground?). My associate and I noticed that there was a tendency for students to find pictures with concave down parabolas. As a follow-up to this activity, you can challenge students to see of they can find anything in nature or architecture that can be modeled by parabolas that are concave up. T- Talker
Task: Summarizes ideas from group discussion and presents them to the class. E- Encourager Task: Ensures everyone has had equal opportunity to voice their opinions, and encourages on-topic discussion. May also be asked to keep track of time if needed. A- Articulator Task: When group is unsure of what to do, the articulator is in charge of posing questions of the group to the teacher. M- Mover Task: Gathers materials and assists with group clean-up. How this can be used in the classroom: The TEAM approach is a useful classroom management strategy to ensure that each student has a role to play when working in groups. It is useful to ensure that each student has had a chance to take on each of these roles, as different skills are practiced in each one. For instance, as a Talker or Articulator, the student will need to work on their active listening skills to be able to summarize and paraphrase the information talked about by the group. As the Encourager, a student works on fostering cohesion and inclusion by using positive language in feedback. You may choose to group students into teams by handing them a card with one of the letters in the acronym and a sticker (or some type of identifier) to them as they walk into class. They must find others of their team who have the same sticker or identifier. Other ways to adapt the TEAM approach: Depending on the activity you are asking students to do, you may also assign additional tasks for each role given, or list new roles. For instance, if a student is particularly shy they may just choose to play a more passive role and keep track of time (a Timer), or write down ideas of the team (a Scribe). Another role that could be useful is "Checker," someone who checks the statements presented by the Talker to the rest of the class to ensure that the summary was accurate, or if information was missing, the Checker could also speak on the group's behalf. [Update Jan 2020: As a kind commenter mentioned, the ideas presented here are not my own original work. I wrote this post as a way to document what I was learning when I was still in teacher's college. I do not take personal credit. To the best of my knowledge, I learned about the TEAM grouping strategy through my Intro to Teaching Biology class at Queen's University. Though I have not personally read her book, it was brought to my attention that this strategy is references material from Launa Ellison's book Seeing With Magic Glasses.] 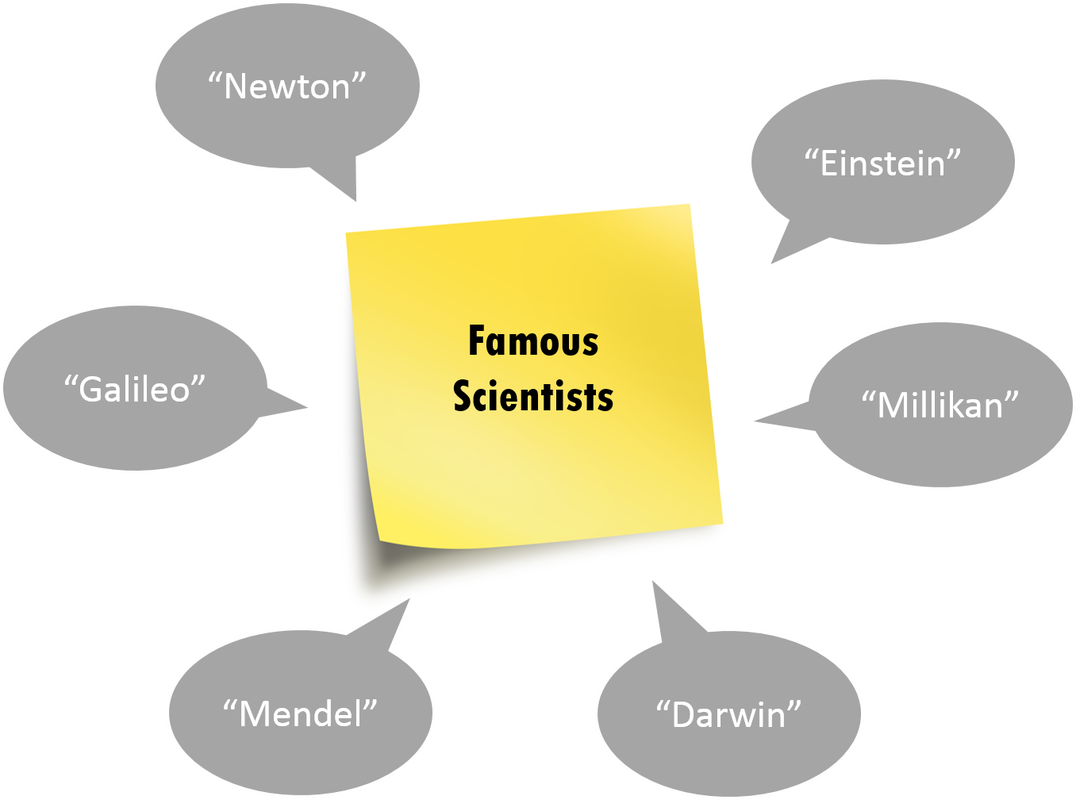 Method:
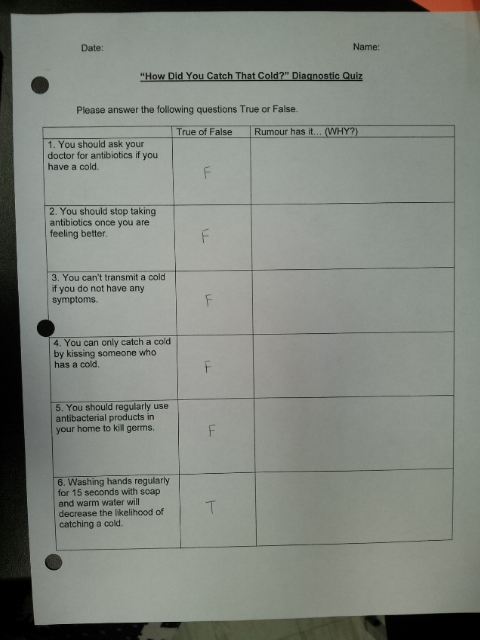
On a the back of a sticky note, write down some topics or themes that your students know, or have recently learned about. Examples of themes could be: famous scientists, Great Lakes, capital cities...etc. Each student receives a folded sticky note with one of these themes inside. By calling out words that relate to their theme (they are not allowed to use any of the words written on the sticky), they must attempt to identify other members of their team who have also been assigned the same theme. How this can be used in the classroom: Prior to assigning groups, ask students to write down their names on the centre of a cue card, and the names of six (or any number of your choosing) other classmates they would not mind working with. You may then collect these cards and sort through them during lunch or break, and create the groupings from there. By assigning each student a theme instead of reading out their groups to the class, you are still asking them to use the knowledge they have learned in order to come up with words related to their topic. Students who have trouble coming up with words can practice their active listening learn to recognize terms that are related to their topic. Diagnostic: Rumor Has It Students fill out a T/F diagnostic chart relating to common misconceptions and errors that people have about viruses and diseases. Students are asked to explain their answer in the next column (see photos). Sample Statements -
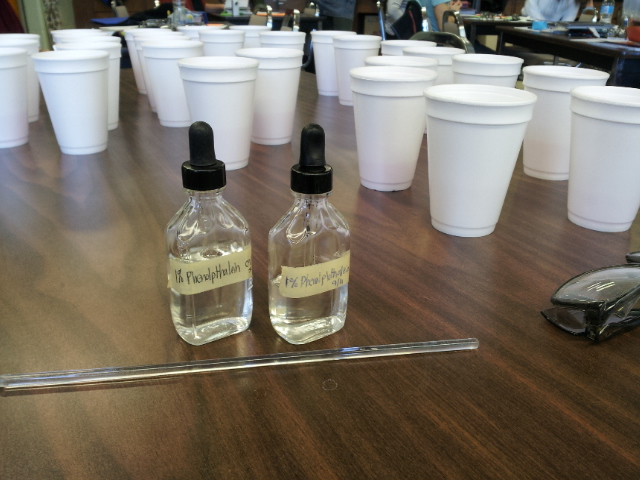
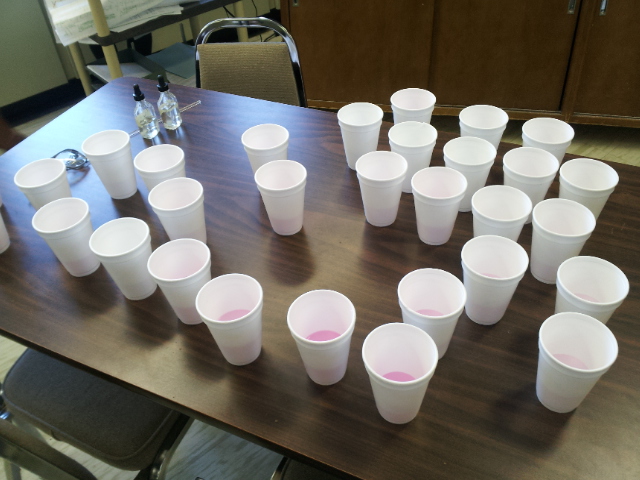
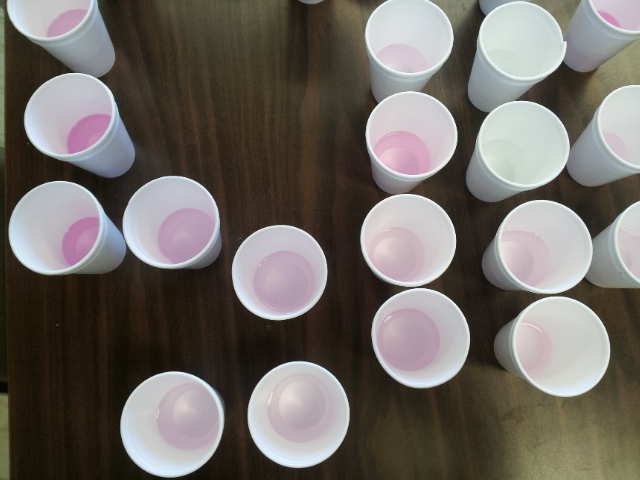
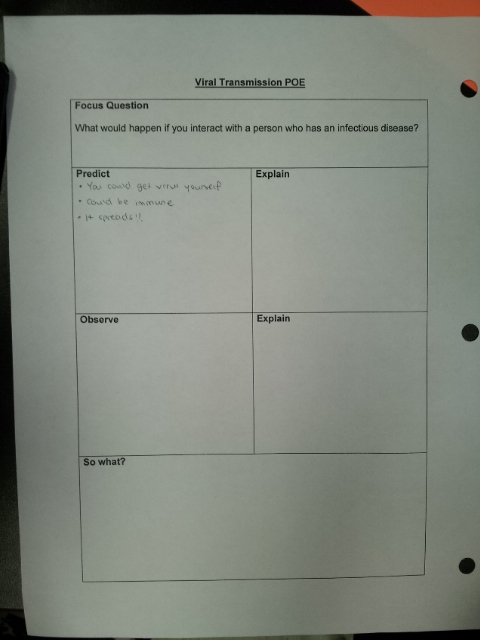
Learning Activity: Viral Transmission POE
Debrief Questions: Why might there have been different shades of pink? What kinds of properties do pathogens have that allow them to infect you so quickly? What preventative measures can you take to keep pathogens at bay? Suggested Modifications: Assign a certain proportion of students as "mosquitoes" to track the spread of malaria among humans. "Mosquitoes" use pipettes to exchange liquids with humans. Video: Flu Attack! How A Virus Invades Your Body A fun and quirky video about viral invasion. Note that no scientific terms are actually used in the video, so it is important to go back at the end of the unit and address any misconceptions that the video may perpetuate about viruses. Research Project: Ebola Outbreak Action Plan
Complete lesson guide available on PBS. Students pick one aspect of the epidemiological triangle to focus on and research in order to come up with a strategic action plan to deal with the ebola outbreak. What I learned: I liked that the group who presented this workshop broke down the action plan into manageable steps. They created a student handout in chart format with categories titled "the problem," "action to implement," "what is the expected outcome," and "what evidence supports this." The action plan can easily be turned into a summative assignment, and students can be given to research a disease of their choice. If students pick a disease that has already been eradicated, alternative considerations to make include the historical context which the disease occurred, the treatment, preventative measures, and current status of the disease. 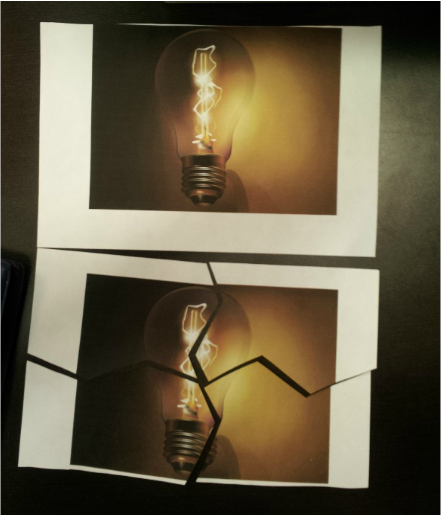
We used this grouping strategy for our workshop on light and optics.
Method: Print out pictures of objects or scenery related to the unit students are learning. Cut the pictures up into the number of pieces that correspond to the number of groupings you wish to have. Include the photo of the completed puzzle on the tables ahead of time so students will know where to sit once they have identified their group members.
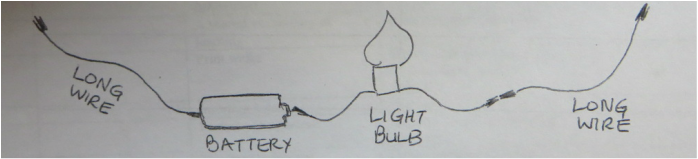
Other ways this can be used in the classroom: Instead of putting the picture of the completed puzzle on the tables, you can instead put the name of the object. This can be useful in the beginning of the unit as as a diagnostic for determining what students already know. For instance, at the start of the electricity unit, I may have distribute puzzle pieces that correspond to pictures of alligator clips, voltmeters, copper wires...etc. to the students, place the corresponding terms on the table groups. Right away, students will be able to learn what the different components of a circuit looks like before even building one. You may also adapt this method by giving students complete pictures of items that relate to the terms on the tables (ex. for "circulatory system" distribute pictures of red blood cells, the heart, platelets...etc. to the students) and form groups that way. The possibilities are endless! Last week's student-led workshop was presented by a group of students in our biology curriculum class. Their workshop was focused on the grade 9 electricity unit. Here, I have described each of the activities in detail, made note of possible debrief/scaffolding questions you can ask students, and some of my annotations on how the activities can be improved. Focus Question: "How do we prevent an electrical shock?" Introduction: Give one blank sheet of paper to each group of four. Get students to draw a light-bulb on the center of their page. Assign one student as the "recorder" and ask the group to brainstorm words or phrases that come to mind when they think of the word "electricity." Learning Activity: Turn the Light On! Materials: -wires (stripped at both ends) -Christmas lights -AA batteries -electrical tape PART A- Teacher Instructions: Ask one student in the group to collect 1 wire, 1 AA battery, 1 Christmas light, and electrical tape. The students' task is simply to "turn the light on." Debrief Questions: What components do we need to create a circuit? (load, wires, power source) PART B- Teacher Instructions: Now ask one student in each group to get one extra wire and one additional light bulb for their group. Instruct students to try and turn both lights on using different wiring strategies. Have students draw each of the circuits they create in their notebooks. Go around and assist students as they go through the activity. Ideally, you should have students building both parallel and series circuits. Designate one or two people to draw the two types of circuits on the board. Debrief Questions: Explain to the students that they have just built series and parallel circuits. What observations can you make about each type of circuit? Which one do you think is series and which is parallel? Why? Follow-up: Proceed by showing students a string of Christmas lights. Ask them to predict what they think will happen when one light bulb is removed from the middle. Record students' predictions on the board, and host a secret vote of science to determine the most popular choice. (Extension: ask students to explain their choices, e.g. "Why might something think the lights will get brighter? Dimmer? ...etc.). Turn off the lights for dramatic effect. Pull one bulb out of the string of lights and the lights all go out. Ask students to see if they can figure out whether the Christmas lights were wired in series or parallel. See if they can use the materials they have and the diagrams on the board to figure this out! 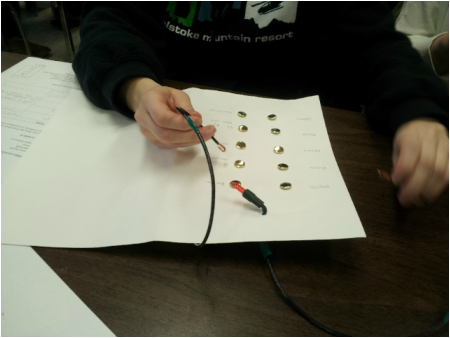 Electricity Quiz board. Terms on one column, and definitions in the other.  Board only lights up when correct match is made. 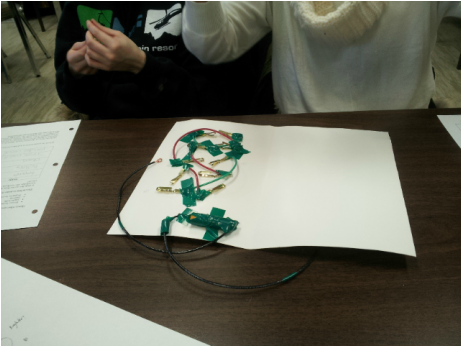 What the back looks like. Learning Activity: Electrical Quiz Board Materials: (per board) - 1 Poster board - 1 AA battery - Electrical tape - 10 Brass fasteners - 5 small electrical wires - 2 long electrical wires - Markers PART A- Teacher Instructions: Tell the class that you will be making an electrical quiz board to review the electricity terms of the semester. Students can pick 5 terms from a given list of terms, and they will be asked to go into their textbooks to look up the definition, and then write it down in their own words. These terms and definitions will be used in their quiz board. (Extension: give students a graphic organizer with three columns, with the terms on the first column, the textbook definition on the second column, and the paraphrased definition in the third column.) PART B- Student Instructions:
  Sample group assessment strategy using pie graphs. How this can be used in the classroom: Often times students will work in groups and some may feel that the workload was not evenly distributed. Instead of asking students to explain this in words, ask them to draw a circle, and visually show using a pie graph, how much each person on the team contributed. They may also jot down tasks that each member completed as a part of the assignment.
Asking Students to Give Feedback: Prior to asking students to evaluate their peers for a group presentation, it is important to scaffold this process by providing students with strategies on providing good feedback. You may choose to simply give students a list of strategies to be mindful of (use inclusive language, don't present accusatory statements...etc.), or you may break up students into groups for a brainstorming session. (Example: You may ask students to brainstorm on chart paper what constructive feedback Looks Like, Sounds Like, and Feels Like). The second method works well because you are engaging students when creating the "success criteria" for a good presentation, and that way all students can take ownership of the evaluation process. Some tips from my classmates: When asking questions about overall impressions of the workshop, present the "Yes/No" answers on a spectrum. Were facilitators prepared? YES ____X_________________NO Was there a clear structure? YES ______________X_______NO Were the written and verbal instructions useful? YES ____X_________________NO Did the learning activities support your learning? YES X_____________________NO When providing individual comments for each group member, instead of using "Start/Stop/Continue," which may sound harsh, we can ask students to use this alternative format: TRY: Describe something in the presentation that the facilitator can work on next time (e.g. pace, body language, volume...etc.) EX. Next time, try to make more eye contact to students sitting in the back of the room. CONTINUE: Describe aspects of the facilitator's role in the presentation that worked well. EX. Anne did a good job paraphrasing student's responses during the question and answer period. Pick a card, any card! For this grouping method, all you need are cue cards. How this can be used in the classroom: This method provides an easy way to mix up the group pairings for a collaborative project or assignment. Works especially well if students tend to clump in certain geographical areas of the classroom. Method:  1. You will need one cue card for every grouping. Start by writing out the topics for the group work/assignment on the cue cards. 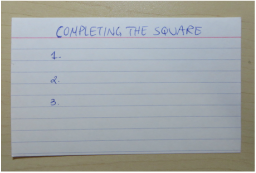 2. Number the cards according to how many students you want in each group, leaving space for students to write their names. For instance, if you want groups of three, write down the numbers 1-3 on each card. 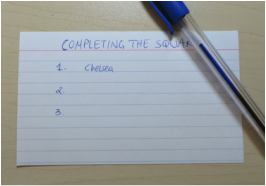 3. Go around the classroom, with the cards face down, and have students in each table pick a card at random, and write down their name in an empty slot on the card. Proceed until every student has been assigned a group. 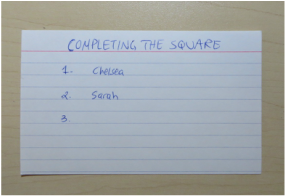 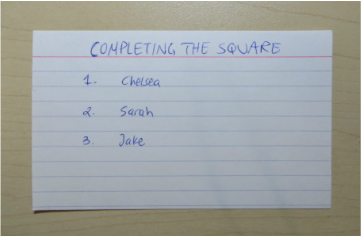 Voila! You are done! |
A Note from the Author
This blog documents some of the things I learned while I was in teacher's college at Queen's University in Kingston, Ontario back in 2015. Many of the ideas presented here are taken from my classes, professors, and fellow students. I do not take personal credit for the work presented here. 
Categories
All
Archives
May 2015
|
 RSS Feed
